Manage email images
You can upload the image used in composing an email.
To close the screen, click the "Close x" button at the top right of the screen.
▼ Screen for managing initial mail images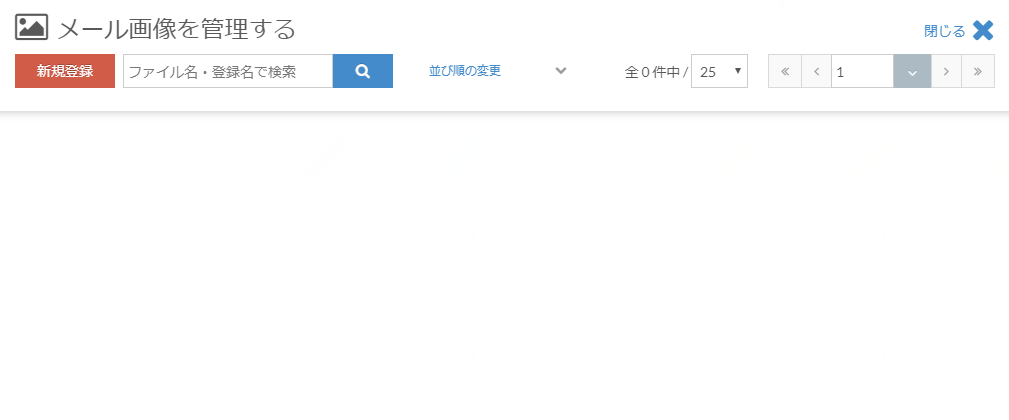
In the search window, you can search by "file name" or "registered name" of the image.
The order can be selected from "Update date", "File size", "Registered name", and "File name".
- * Uploading is limited to images.Therefore, the extension of the file that can be uploaded isjpg, gif, pngWill only be.
- * The character limit for the registered name of the image is1-255 charactersWill be.It can be set in Japanese.
- * If the file name to be uploaded is Japanese, the operation is not guaranteed.Please upload the file name in half-width alphanumeric characters.
- * The number of images that can be uploaded at one time isUp to 10.
New registration method
Click the "New Registration" button at the top of the screen.Click to display the "New mail image registration" popup.
▼ Pop-up image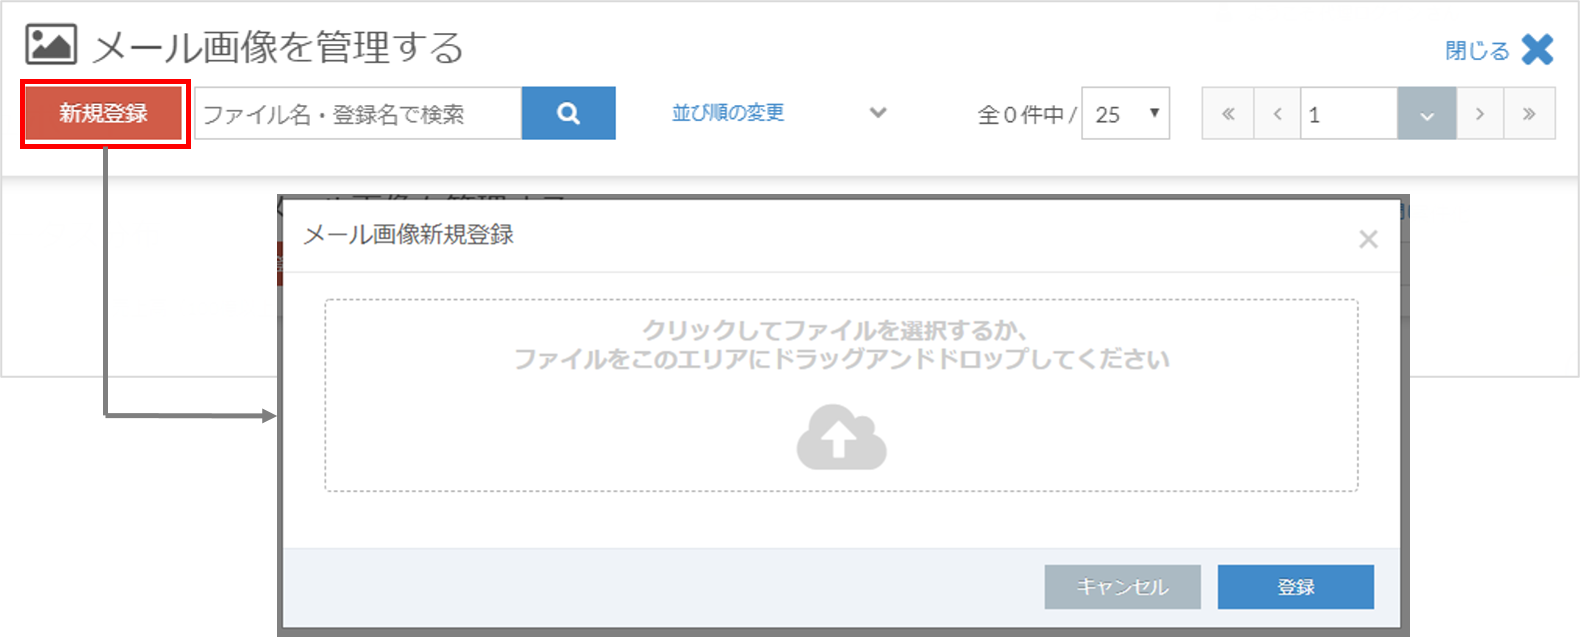
If you click in the upload area in the new mail image registration screen, the file screen of the PC will be displayed. Select a file from there and upload it, or add it by dragging and dropping the file in the upload area. To do.
"Registered name" cannot be set at the time of new registration.After uploading, please set from "Change image".
* Unlike the file on the file management screen, you cannot make settings on the membership registration form.
Here, upload the file used for email.
Manipulating uploaded images
The "Confirm", "Get URL", "Replace", and "Delete" buttons for the uploaded image will be displayed when you move the cursor to the image you want to change.
▼ Pop-up image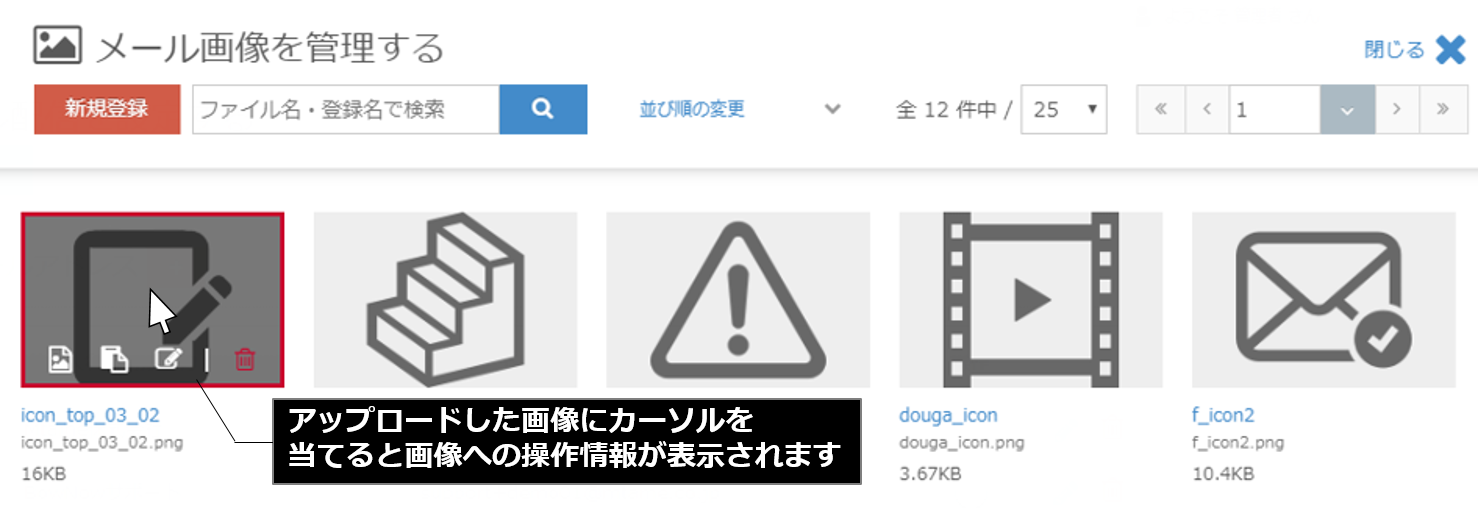
If you click in the upload area in the new mail image registration screen, the file screen of the PC will be displayed. Select a file from there and upload it, or add it by dragging and dropping the file in the upload area. To do.
* Unlike the file on the file management screen, you cannot make settings on the membership registration form.
Here, upload the file used for email.

| 1: Check the image | Click to enlarge the image in a pop-up display. |
|---|---|
| 2: Copy the image URL | You can copy the image URL. For Windows, you can paste with Ctrl + V, and for Mac, you can paste with command + V. |
| 3: Change the image | When you click the button to change the image, the "Change image name" pop-up is displayed, and you can change the image, change the registered name, and get the image URL. If you want to replace the image, it will not be updated unless you click the "Change" button after uploading. |
| 4: Delete the image | Delete the image. Please note that if you delete it, it will not be displayed if it is set to the delivered mail. There is no backup function.Please note that if you delete it by mistake, it cannot be restored. |
Change the image
When you click the button to change the image
You can change the image by clicking the "Change File" button.
You cannot change the file name.
You can change the registered name.The registered name will be used in the BowNow management screen and cannot be confirmed at the delivery destination.

Related article
Old mail function
New mail function
BowNow Paper Manual

First email delivery [old email]
This is a manual for preparation before mail delivery.Contains creation of mail delivery group, setting before mail creation, and creation of delivery stop form.
Text type HTML mail composition manual
We have summarized the procedure for creating and delivering HTML emails in text text with BowNow.

Mail delivery manual [old mail]
We have summarized the procedure and precautions for "mail delivery" that can be used with BowNow.Please check when using mail delivery.
Mail delivery manual [new mail]
We have summarized the procedure from creating an email delivery list with a new email to delivering the email.